
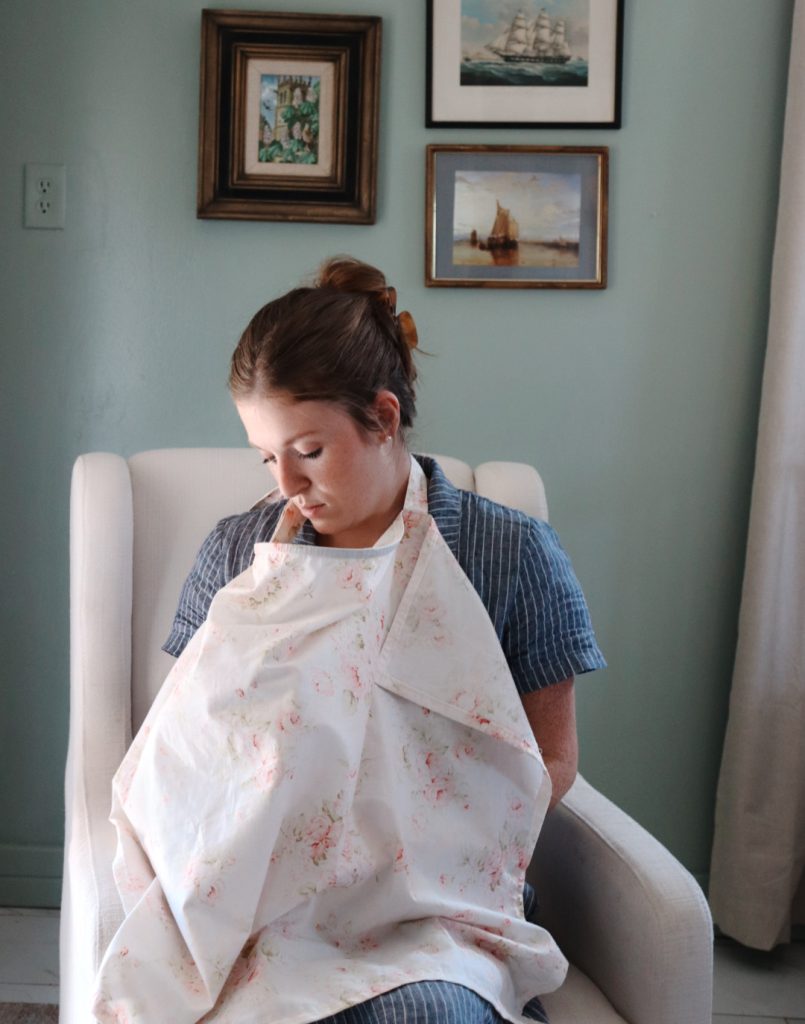
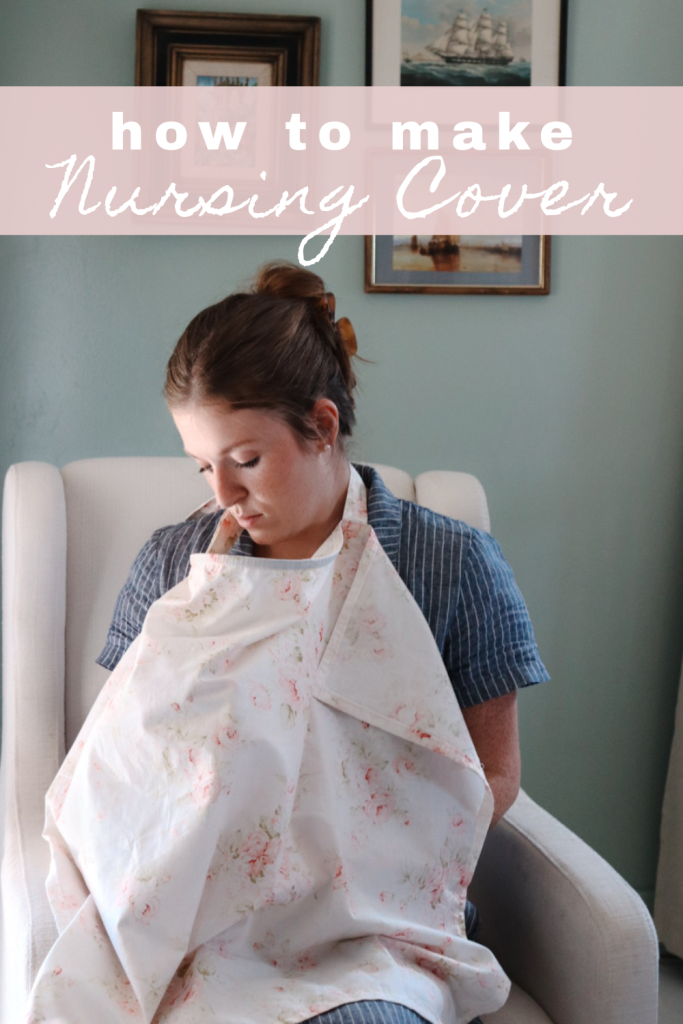
In this post, I’m sharing with you a very easy tutorial on how to make a nursing cover. This easy DIY is great for beginners and is quick to whip up.
Why You’ll Love This Nursing Cover Tutorial
The great thing about sewing, is that you can choose any level of tutorial and find exactly what you want. Sometimes I just want something super simple that I can easily whip up at nap time. And that is exactly the amount of time it took to make this nursing cover.
In under 2ish hours, you can sew your very own nursing cover. Toss it in your diaper bag, ready to go next time you’re out and about.
What makes this nursing cover stand out, is that it is made with boing allowing mom to discreetly nurse in public while easily viewing her baby.
Tips For Sewing a Nursing Cover
- pre-wash your fabric – It’s always a good idea to pre-wash and dry any material before cutting and sewing.
- set up a steam iron to iron your material and press seams – I always set up my iron before sewing, saves so much time.
- make sure you have all of your materials needed before beginning your project – No one likes to start making something and then have to quit because they forgot an item.
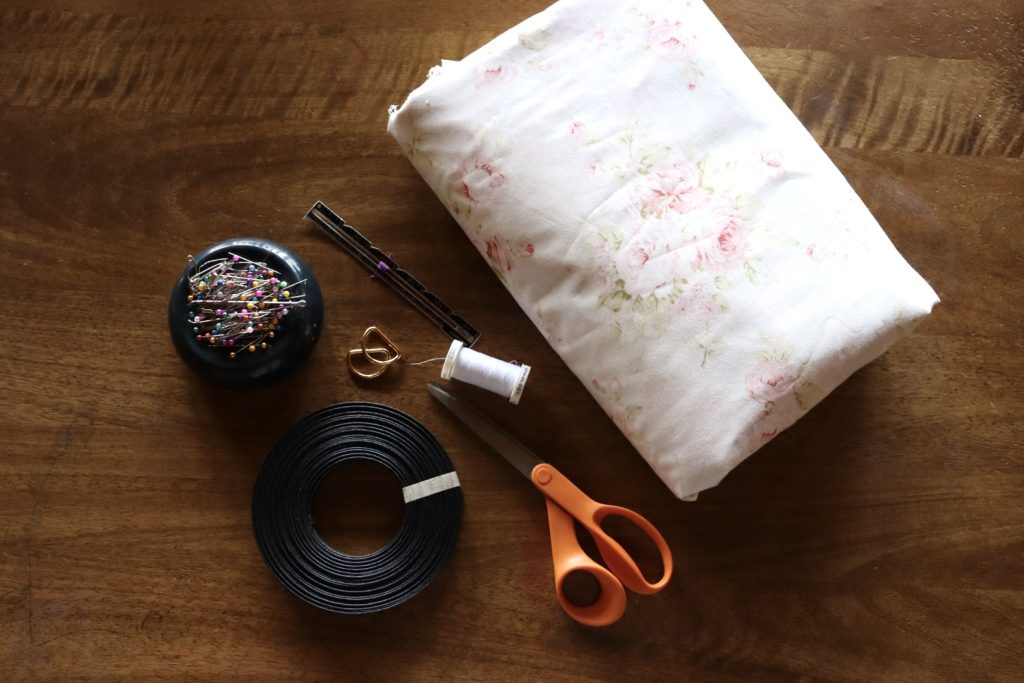
Materials You Will Need:
This post contains affiliate links, which means I make a small commission at no extra cost to you.
- Sewing Machine
- Sewing Scissors
- Sewing Pins
- Two 1 inch D Rings
- 14 inches Boning
- 1 1/2 yd. fabric. lightweight cotton works great
- Thread
- Measuring Tape
- Steam Iron
Find More Handmade Baby Sewing Projects Below:
HOW TO MAKE MUSLIN SWADDLE BLANKETS
How to Make a DIY Nursing Cover Step By Step Tutorial
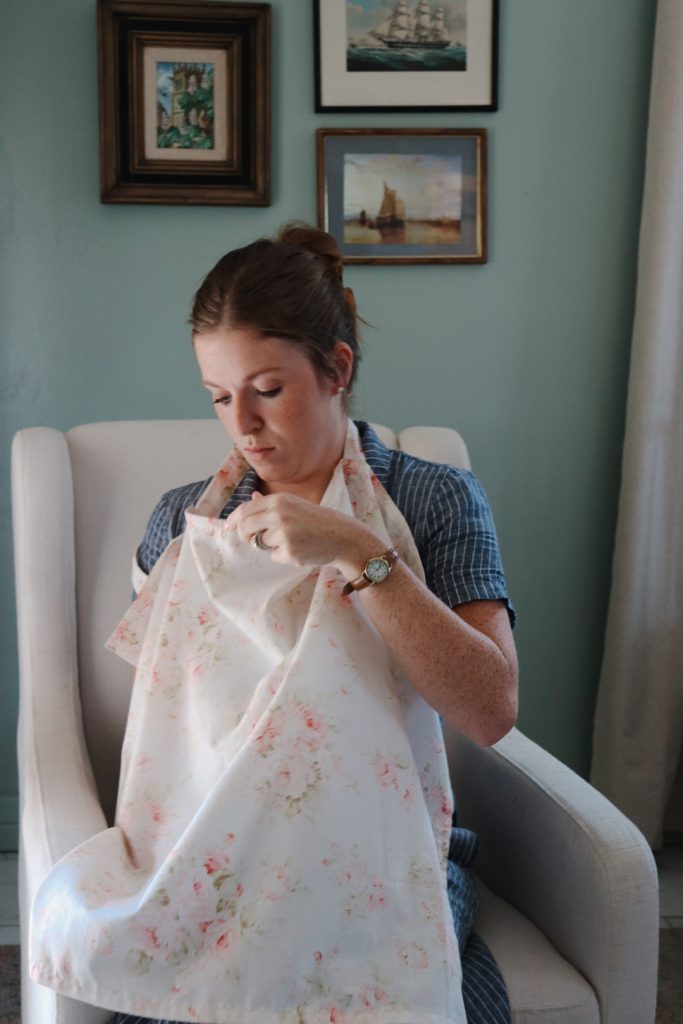
Cut Out Fabric
- Begin by pressing your fabric so that it is smooth and creaseless. Then using a measuring tape, measure and cut a 26-inch by 36-inch piece of fabric for the main piece.
- Next, measure and cut a small piece of fabric that is 28-inches by 3-inches for a long strap.
- Lastly, cut out a piece of fabric that is 10-inch by 3-inch, this will be for the neck straps with D rings.

Sew the Neck Straps
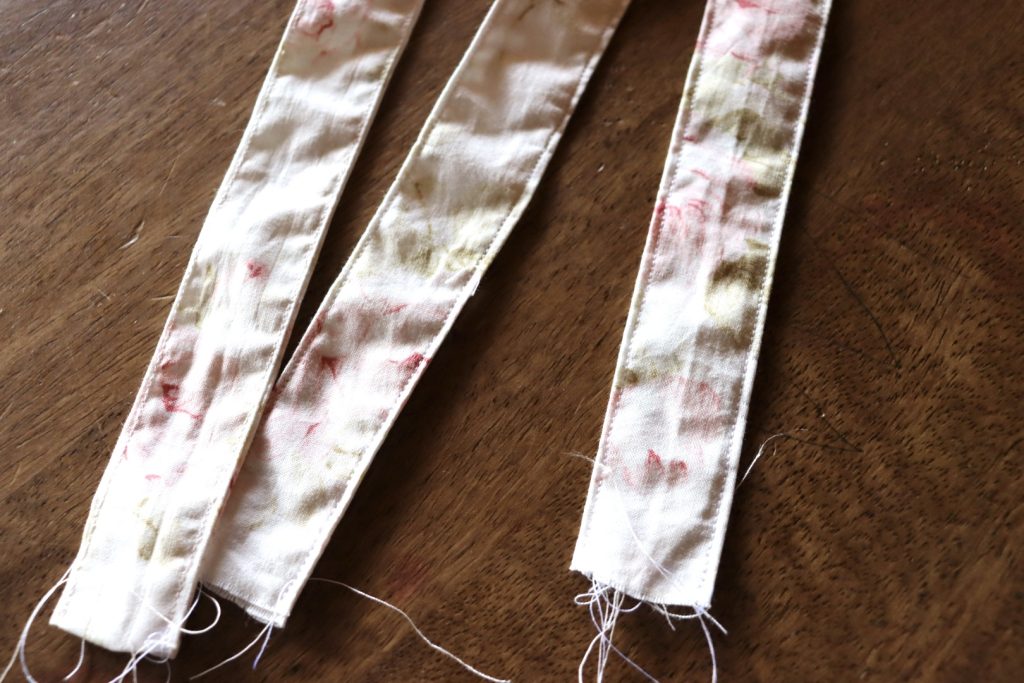
- With right sides together fold the straps in half with the wrong side showing.
- Starting with the longest strap piece, fold down one end about a 1/2inch before sewing. This is just to keep things looking nice and clean at the end of sewing.
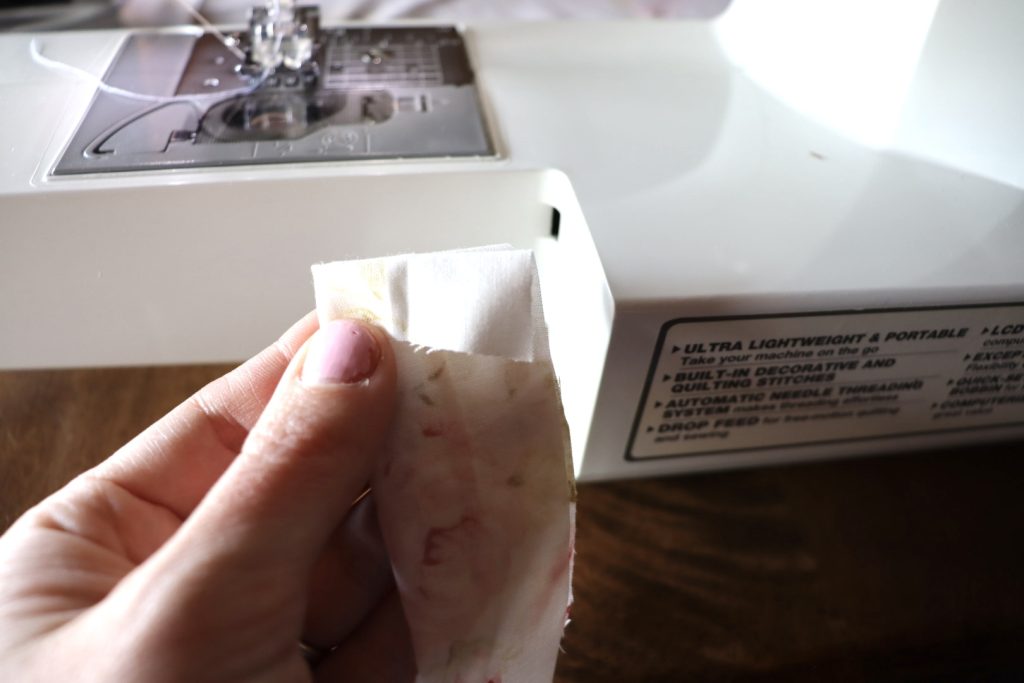
3. Now sew a seam all the way down the strap. I used the edge of my presser foot as my guide, making sure to backstitch at the end of each strap to secure threads from unravelling.
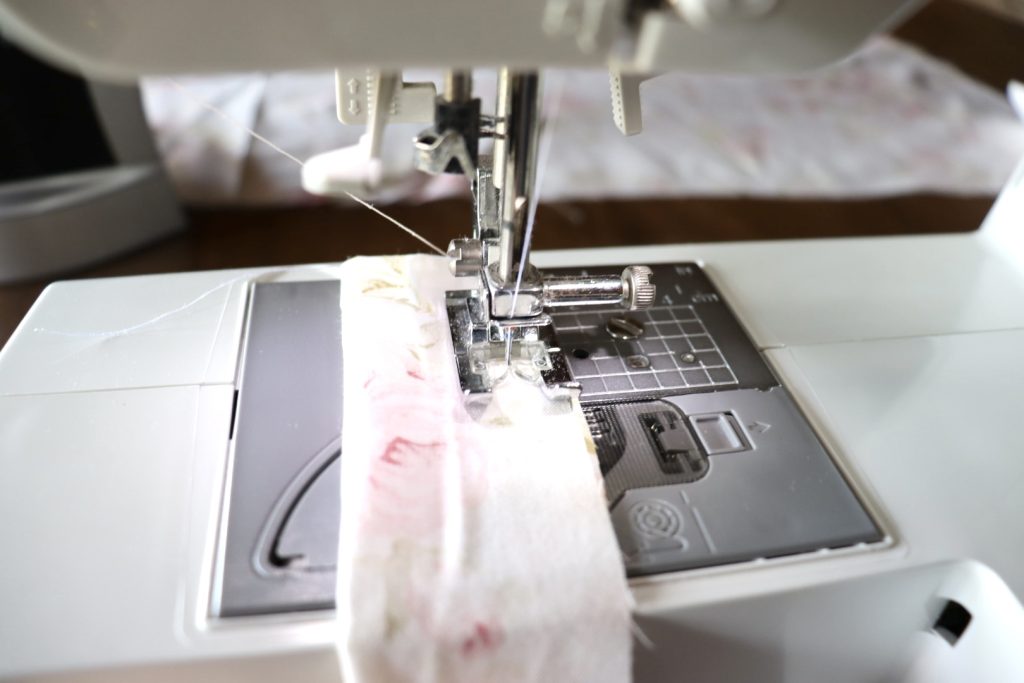
4. Sew another seam on the shorter strap, backstitching as well.
5. Next, turn your straps inside out, I like to use a large safety pin. And then take the long strap to the iron and steam iron it flat with crisp seam edges. For the shorter strap, press it to where the seam is down the middle.
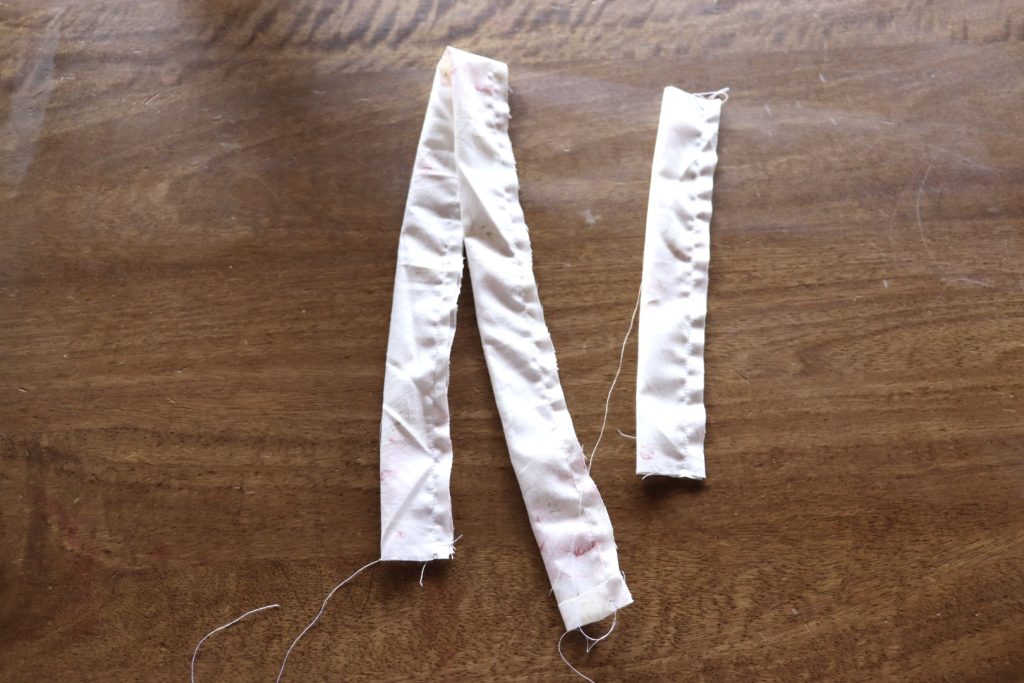
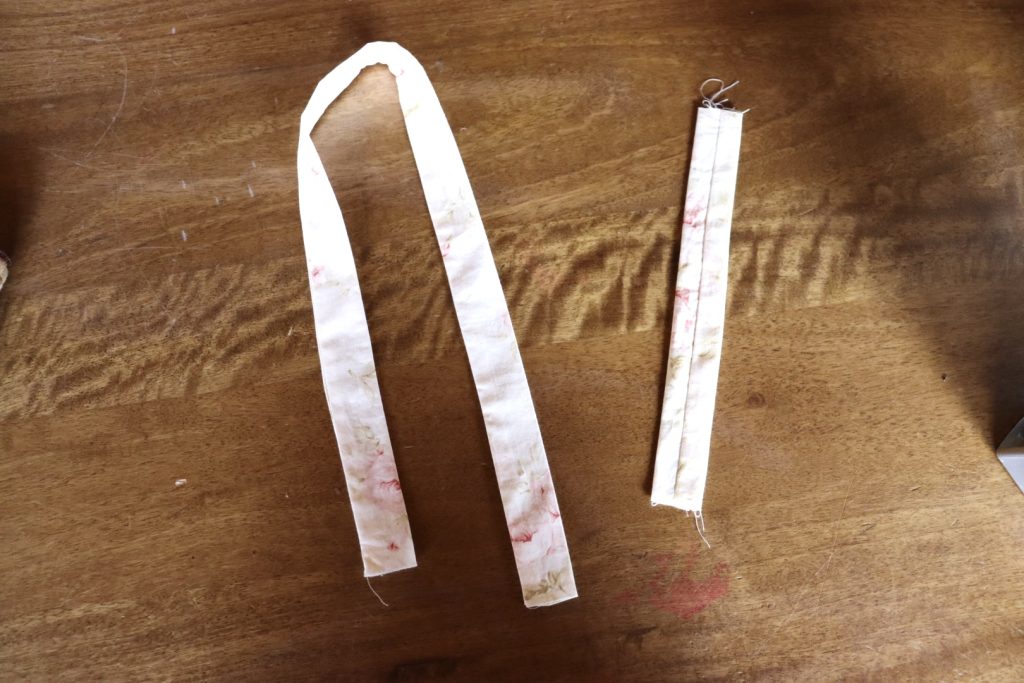
6. Take your straps over to the sewing machine, and sew a top stitch along the edges. This just keeps things looking nice, holds the fabric down, and reinforces your straps.
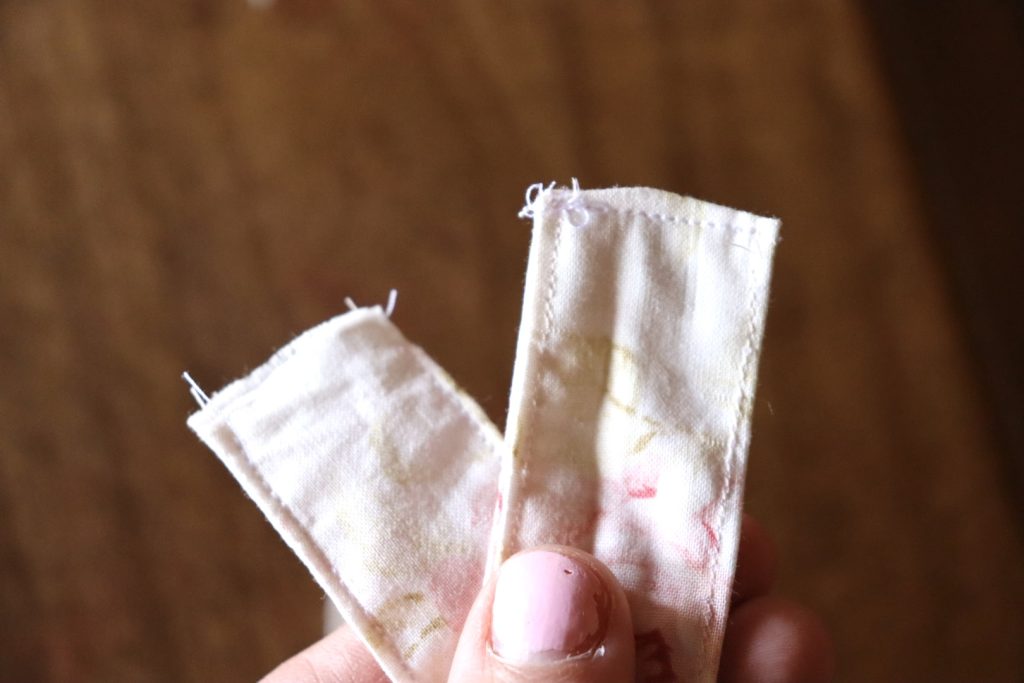
Make sure to sew under that 1/2 inch hem we folded over.
Attaching the Straps
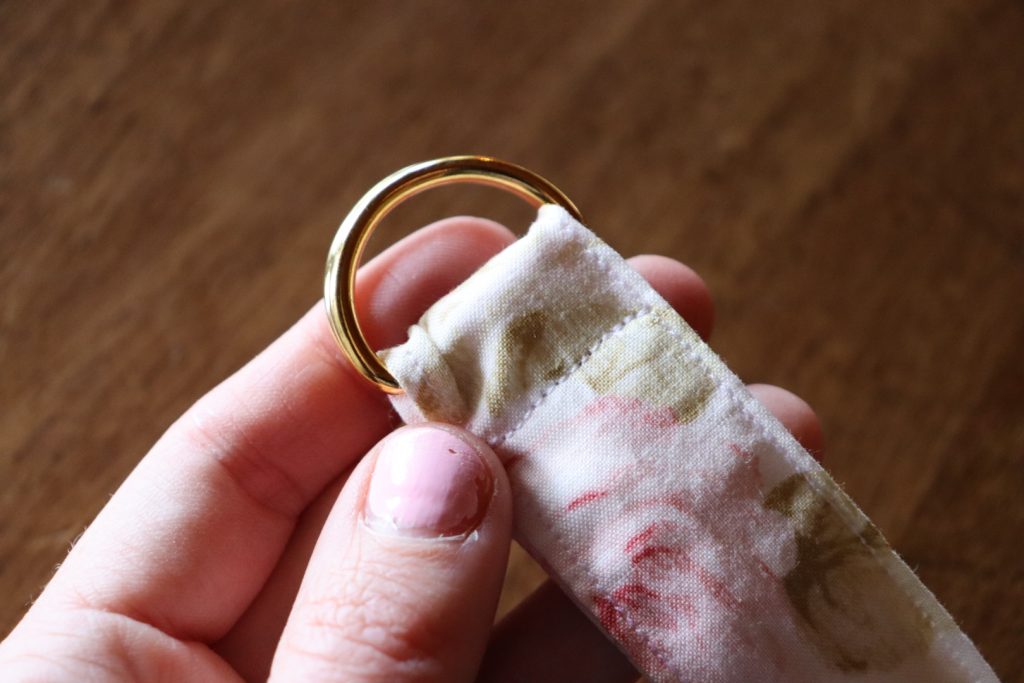
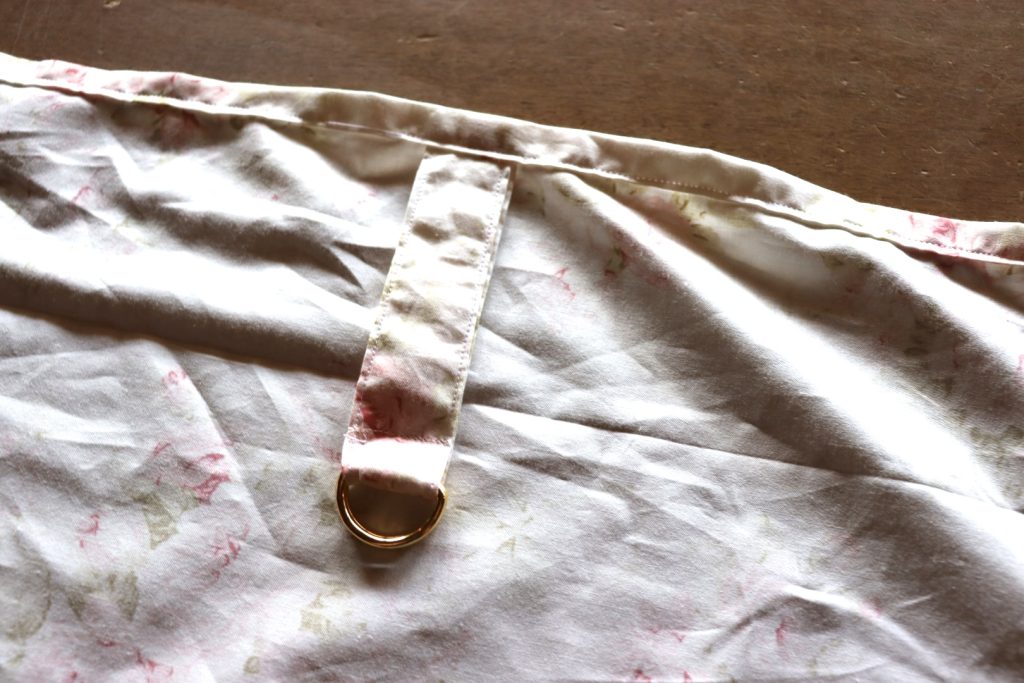
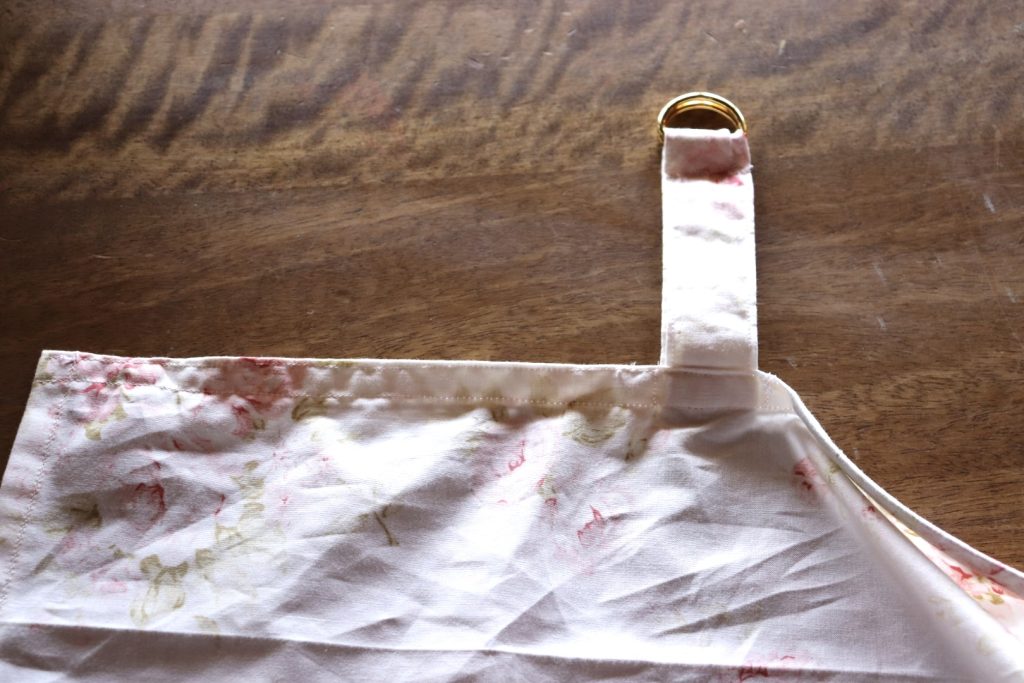
1. For the shorter strap, you’re going to slide the two D rings onto the strap and fold it in half.
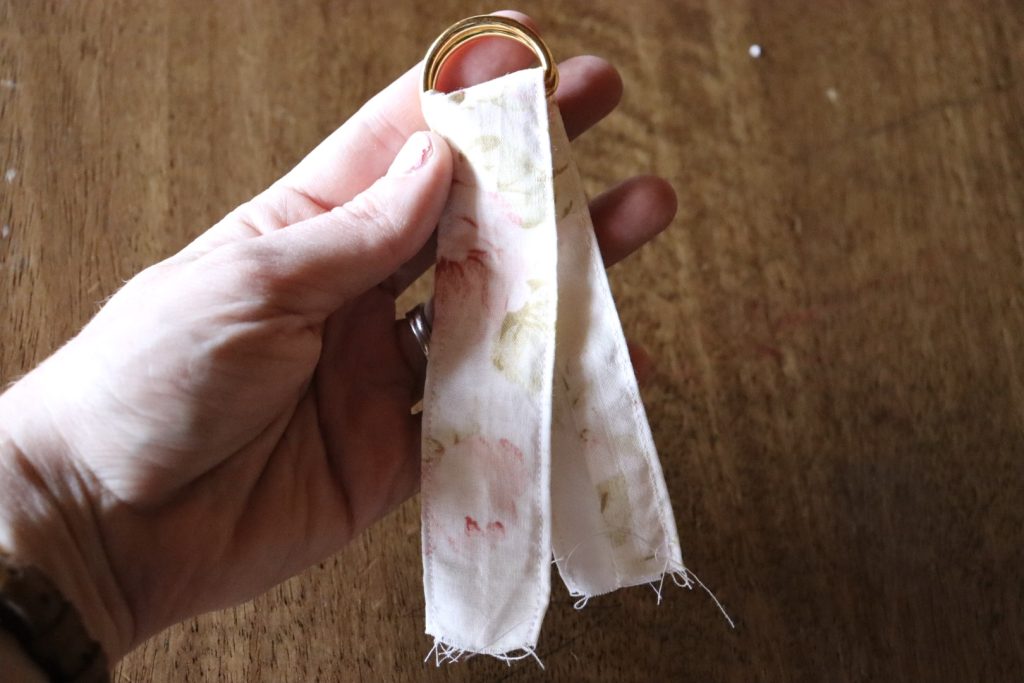
Then add a top stitch as close to the D rings as you can get, making sure to backstitch at the start and end of sewing.
2. Now it’s time to work on the main piece of fabric. Take it over to your steam iron and press down a 1/2 inch all the way around and then fold over another 1/2 inch pressing all the way around. This will give us a nice secure hem line.
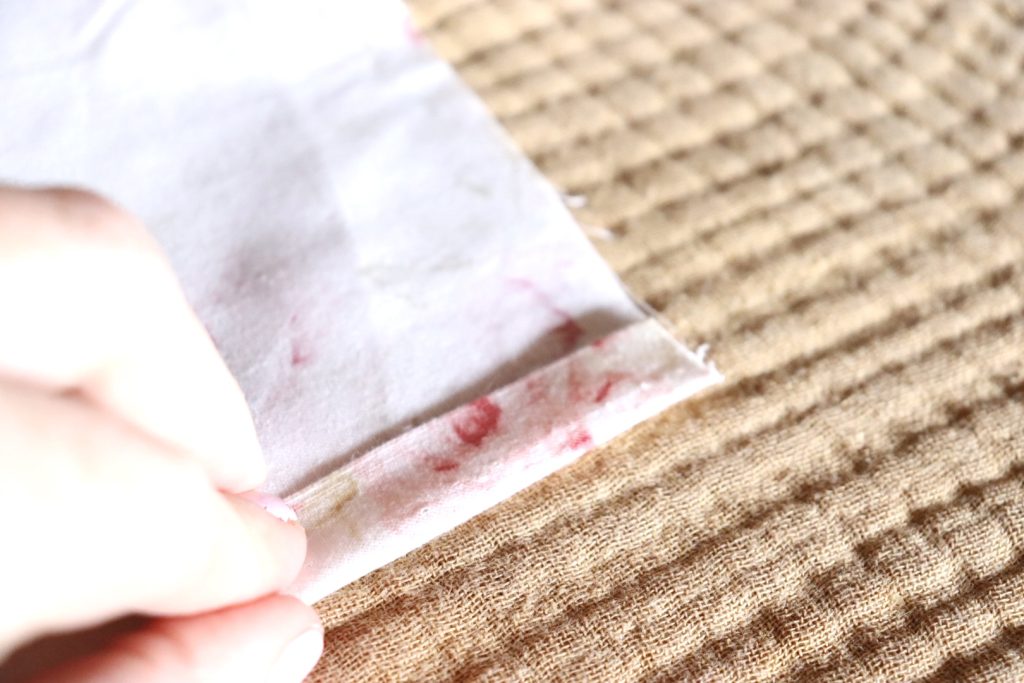
Fold over once and press.
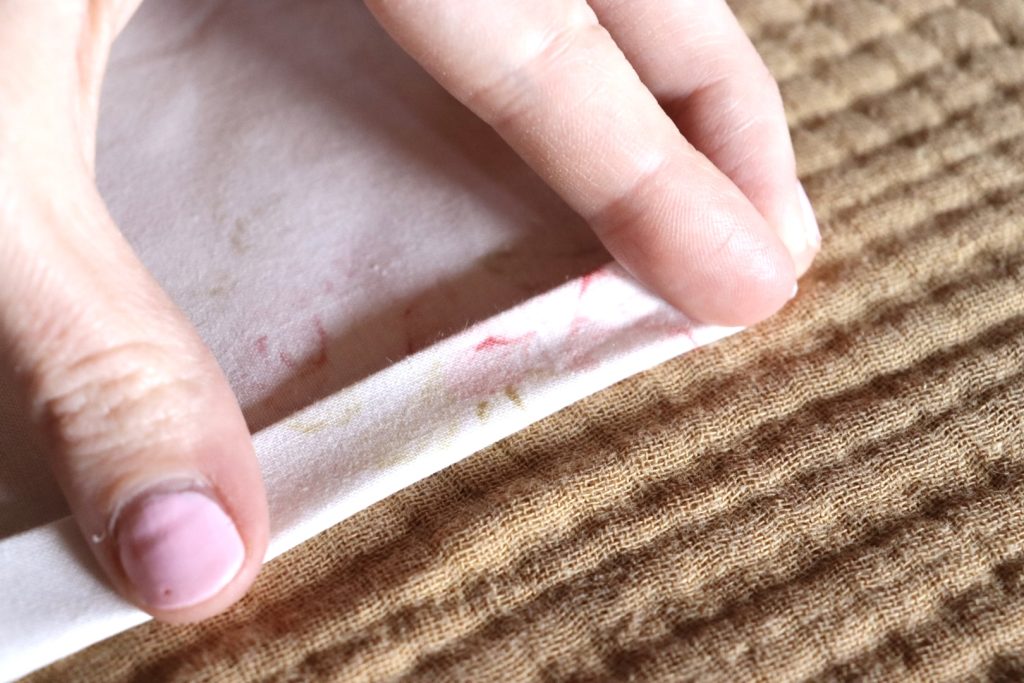
Fold over again and press.
3. Sew a top stitch on the two short sides, and the bottom side. Leave the top open, this we will add the straps and boning.
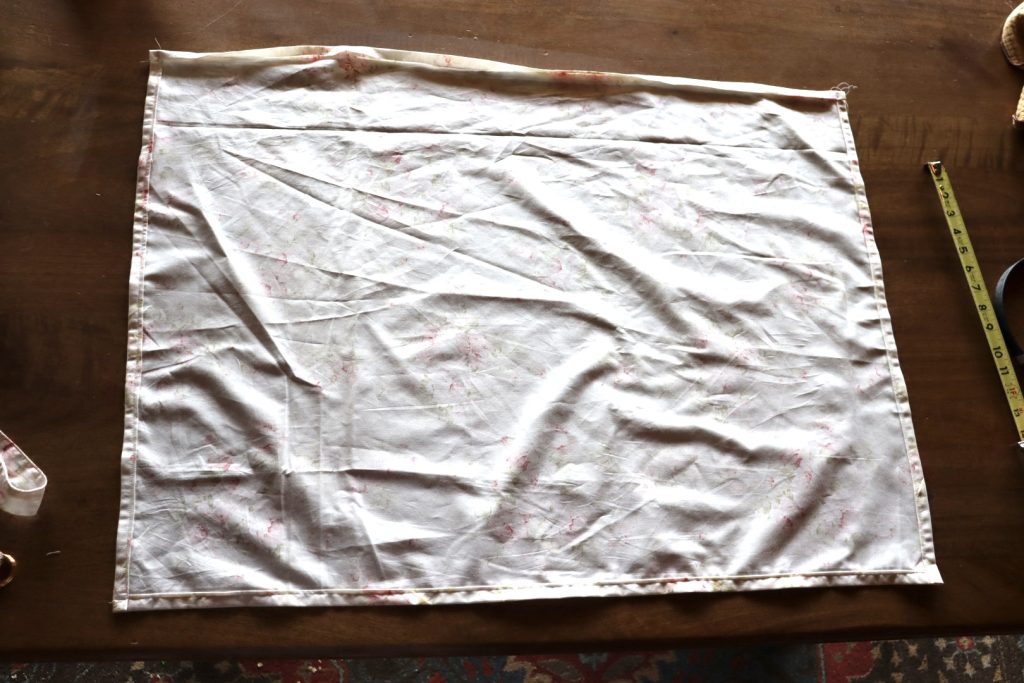
The top is left un-sewn.
4. Now fold the main piece in half with wrong sides facing out to find the middle of the long side.
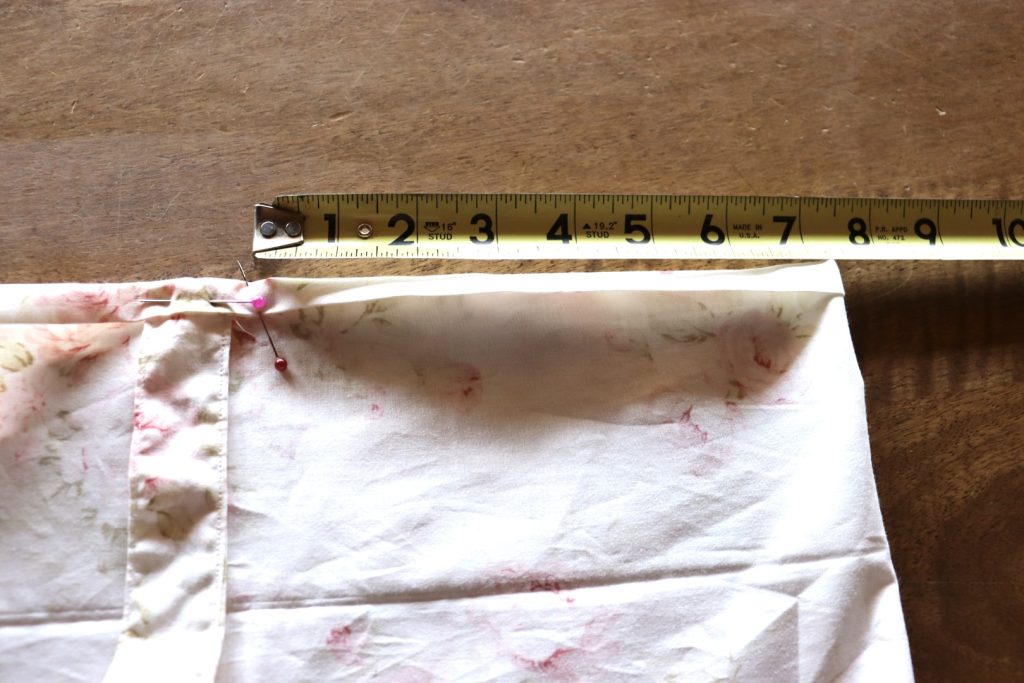
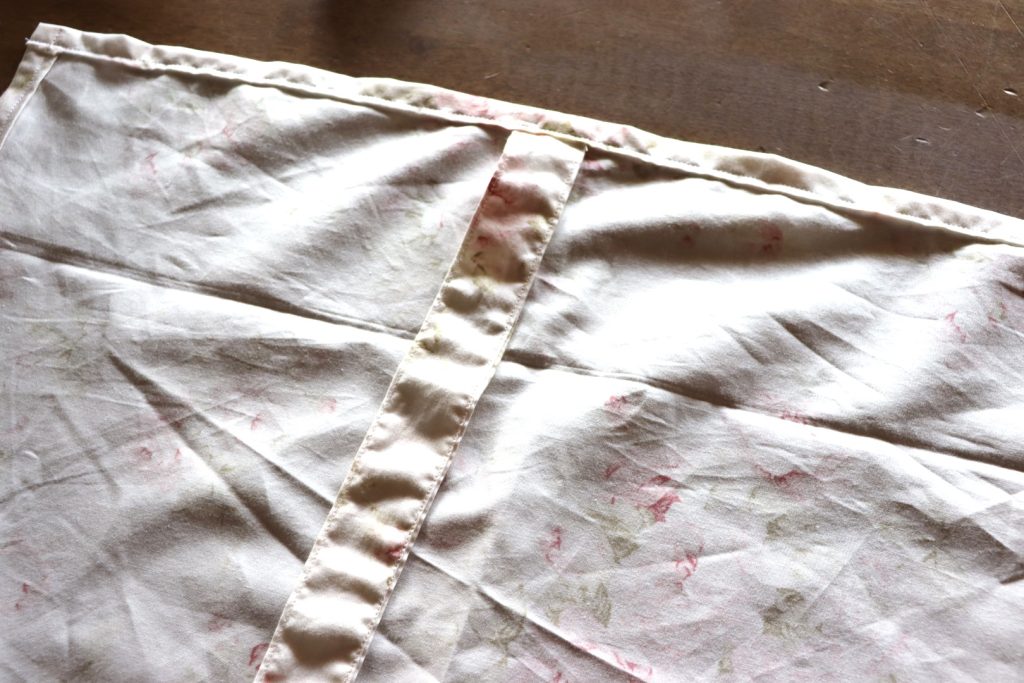
From the middle of the long piece, measure 7 inches from that fold and place a pin to give you a guide to put the boning in. Then tuck the rough edge of the long strap into the fold of the hem and pin into place as shown above.
Now directly behind that long strap on the other part of the fold, pin the short strap right outside the 7 inches.
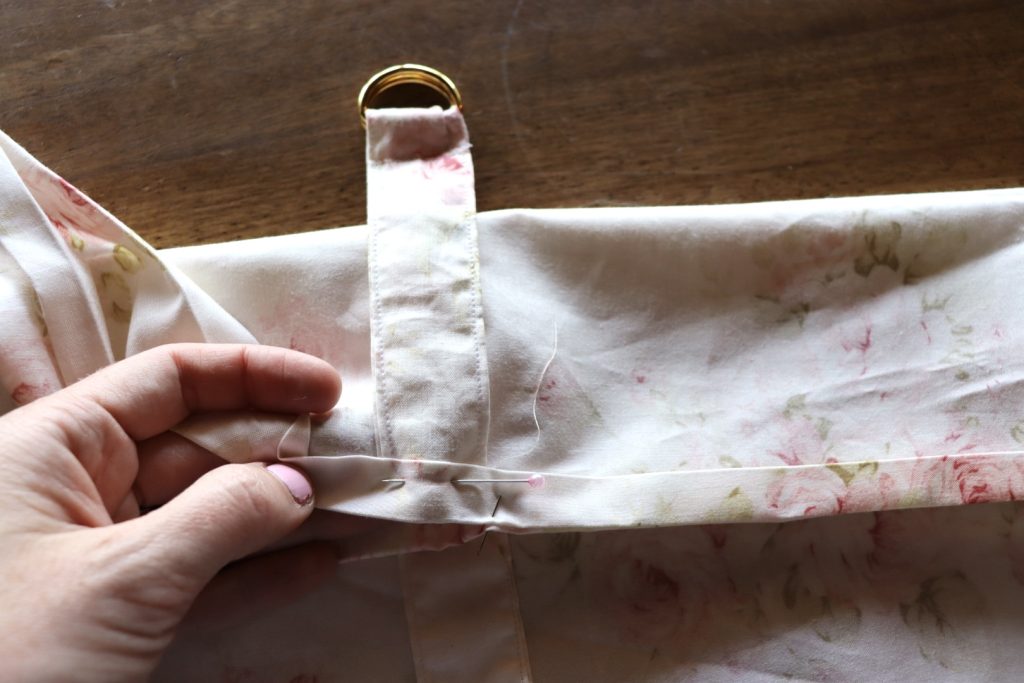
5. Sew all the way down the long piece making sure to catch the straps as you sew. IMPORTANT: stop sewing right before you reach the last strap to leave a small opening for the boning, this is that 14inch gap where the boning is going to slide into. Then begin sewing again finishing off your hem.
Inserting the Boning
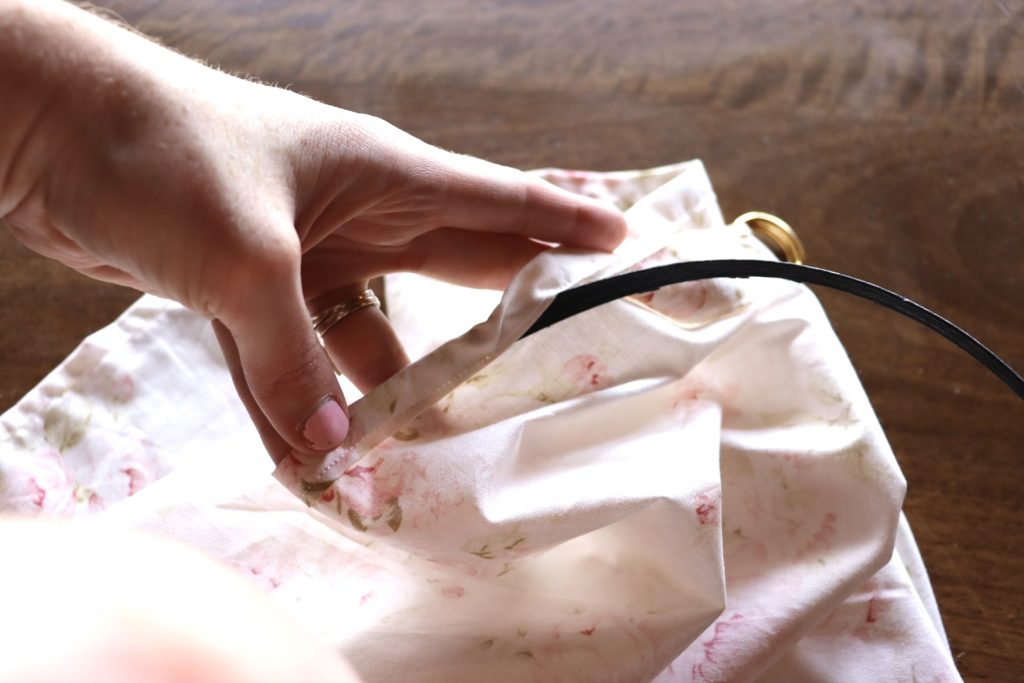
1. Slide your boning into your seam. If your boning comes with a fabric cover, it is easier to place in the seam if you remove that. Then close up your little gap with a seam and backstitch each time. Lastly, sew a topstitch on each side of the boing sew it doesn’t move.
Secure the Straps
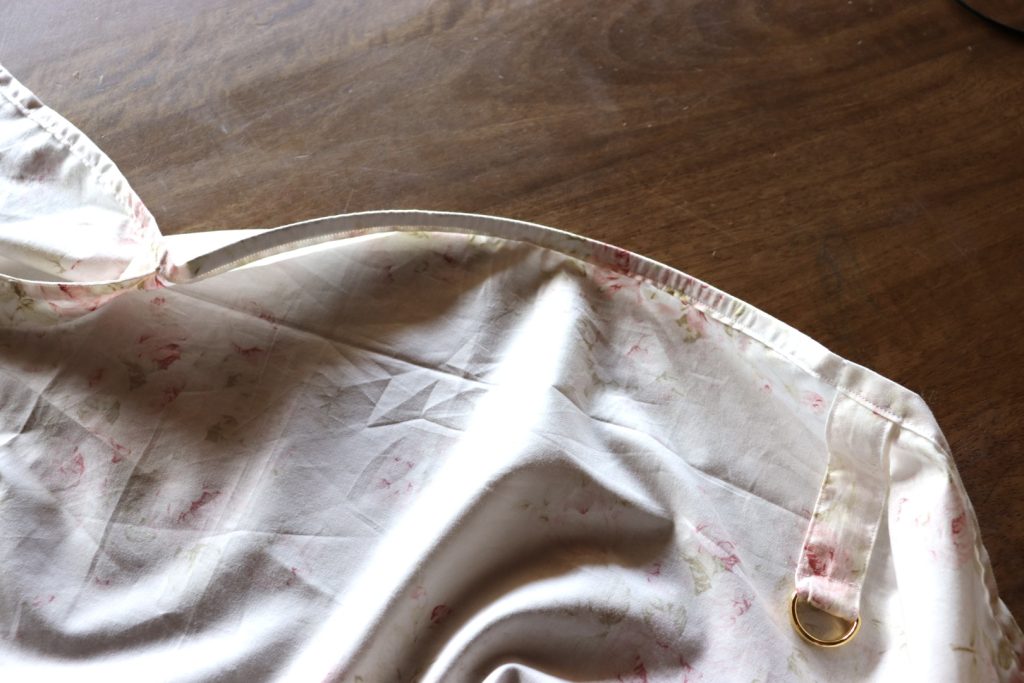
Lastly, flip up the straps so that they lay on the seam and sew a topstitch in place. This will help them not to flop around. All done!
Save for later!
Leave a Reply